

Article by Delbert Leisure Jr

Part two - Wings ...
Please mail any questions, suggestions or comments to Delbert Leisure, Jr., Director.
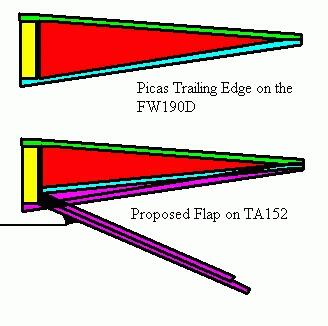 |
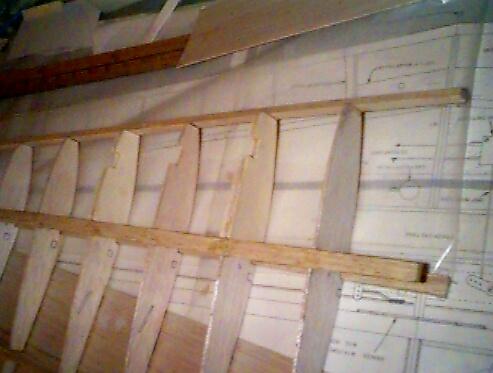
We are going to take a quick look at the Flaps on the FW190. The way the Wing is constructed its going to be hard to get a Flap in the trailing edge of the wing and maintain good support on the trailing edge. What were going to do is cut the red triangle down to allow a 3/32 flap to be added and a false bottom [blue] to be added to get the extra support and to stiffen the trailing edge. Before we get to the flap we need to get the structure a little more complete. |
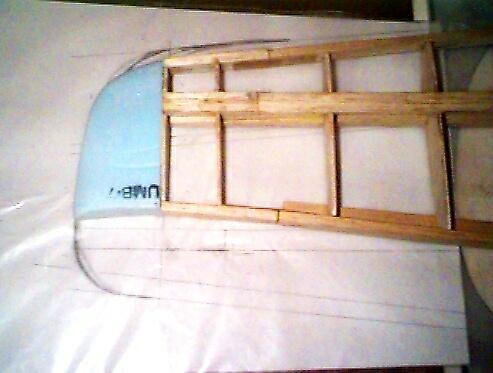 |
Glue the tip on of your choice, and carve them to a basic shape to meet the rib. If you use styrofoam tips and have a wing tip hit the ground on landing it is very hard on the soft foam and you will be replacing the tip. Foam tips do not take abuse from pavement, but we never land on the tip now do we? |
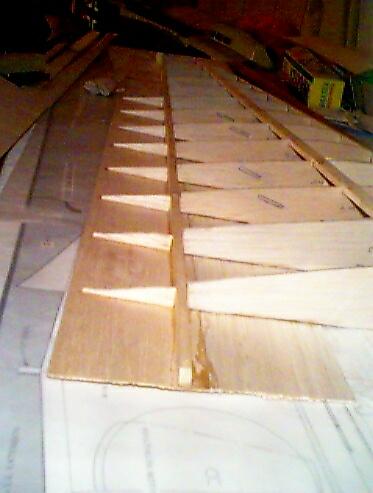 |
Don't put the triangle in behind rib W1 yet. We'll join the wings and the dihedral will effect the triangles location. Why not build the whole structure and then sheet it? You could, but its easier to define the trailing edge, and layout the Flaps without a lot of obstacles that might cause a error in the measurement. |
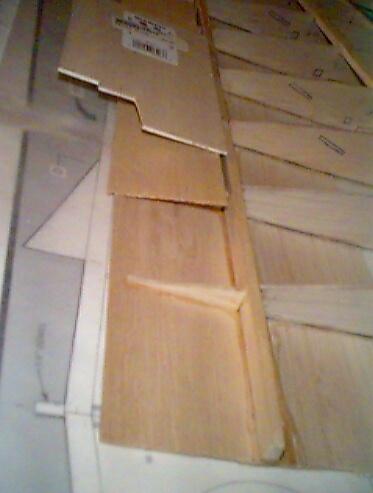 |
How big? lay a piece of 1/16 sheeting on the triangles. Lay another piece of 3/32 stiff Balsa on top of the 1/16 piece. Sand the triangle ribs down until the 3/32 Flap is flush with the bottom skin on the lower wing panel. Don't glue the inner panel in yet, we have to get the dihedral set first. |
 |
|
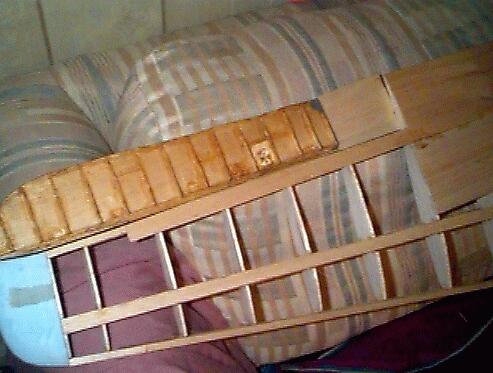 |
In this case I removed the aileron from the old wing. Note that there battle damage to the trailing edge of the aileron. I'll have to put a new trailing edge on the aileron before I mount and hinge it. I extended the aileron 1 bay so I had to add a small section of wood to fill the space. I haven't added the triangles to it yet. I'll fix the trailing edge and mount the triangles before I get ready to hinge the aileron. The basic structure of the aileron was useable and I didn't want to reinvent the wheel. |
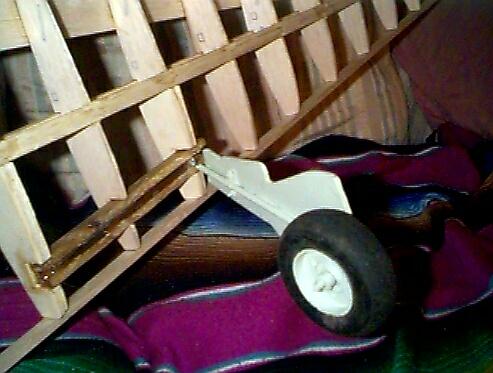 |
About the landing gear. This gear was homemade and I used stiffer wire. I took a 1/4 in rod, put it in a vise and heated it cherry red with a torch and bend it with a hammer. I felt the original gear was a little on the weak side. I bent new gear to the exact shape as the kit gear. Then I silver soldered 2 tabs on the strut to mount the gear doors on. I took a maple block, cut a 1/4 in slit in it and epoxied the wire in it. |
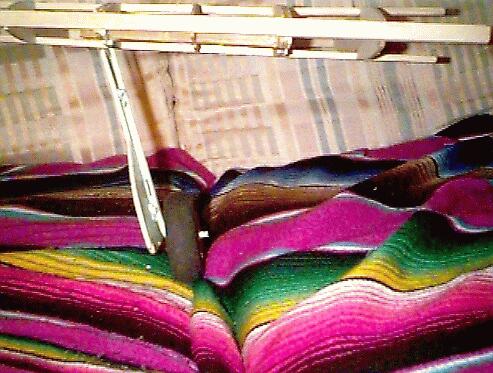 |
I found some fairly scale looking tires I had on a P39 Airacobra , so I put them on the 190D. The gear doors are heavier plywood. I traced the originals and cut out a new pair which was a little stiffer. Bolted them on the struts using 2-56 bolts and nuts. the door and strut is painted RLM 76 which was on the original D9. I'll have to do some checking, but the struts should be RLM 02 which is a very dark mint green. This gear was in use on the D9, so I moved it over to the TA152H. |
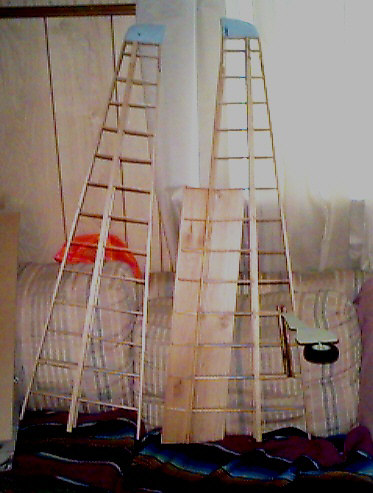 |
We got two wing half's and the Left wing is in very basic form. The right wing has the trailing edge defined, gear mounted, both ailerons are formed but not mounted. We haven't put the trailing on the right half because we need to join the wing half before add the trailing edge. If we don't, then the upper covering will not mate very well and we could lose the structure strength of the center section. |
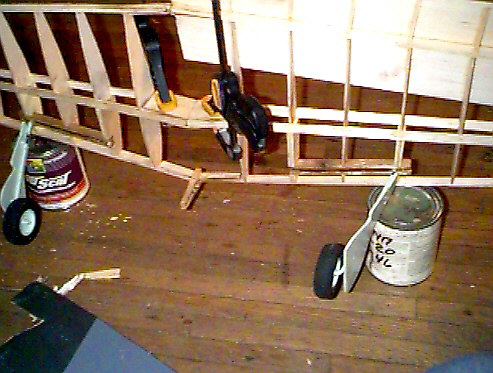 |
Note I did add the right Gear assembly because it does make the wing balance more even. The dihedral is 3 1/2 inches at Wing rib 11 on both wings for a total of 7 in of dihedral. Rise the wing tip until rib 11 is 3.5 inches off the table, and epoxy the jointers in place. Pica uses a thin wing jointer, I made a new bigger one from 3/32 Plywood and Epoxied it in place. Epoxy the leading edge, and trailing edge jointers in place and let it dry real good. Its good practice to clamp the jointers in place. |
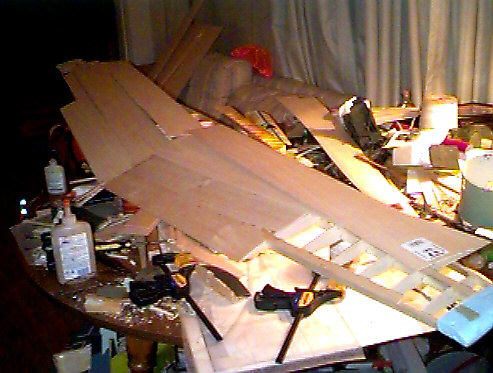 |
It should install in three parts, the front, the middle, and the rear.Keep th eparts a tight fit, epoxy W1 together, and epoxy W1 in place.There a lot of stress on the center section of the wings so please get W1 in as tight as possible. Sheet the top of the wings. I used 1/16 sheeting to save on weight. Note i added the other trailing edge just before sheeting the wings. Completely sheet the top of the wings, and please make sure the gaps are as tight as can be. The Top has to be good. |
Asst. Editor/Modelling Resource Center: Delbert Leisure, Jr.